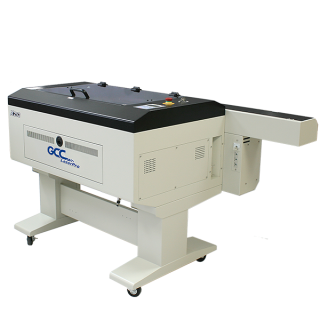
X252 Laser Cutter
Create 3D Objects with Autodesk 123D Make | Laser Engraving, Vinyl Cutter, UV Printer - GCC
Applications
Showcase Video
Laser Engraver/Laser Cutter
Create 3D Objects with Autodesk 123D Make
LaserPro Application Lab is showing you how to make a 3D object by using our laser engraver and 123D Make.
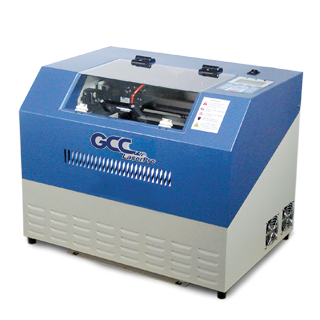
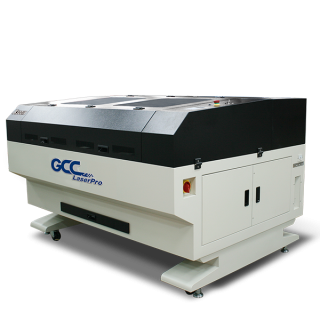
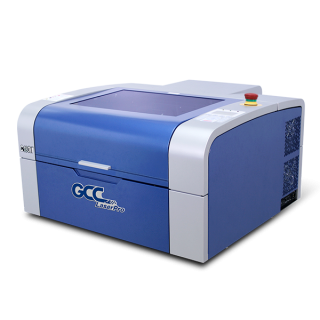
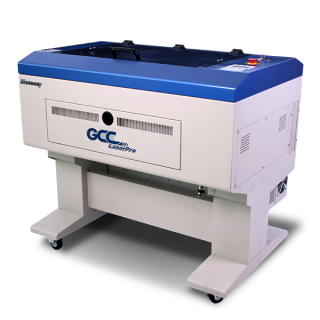
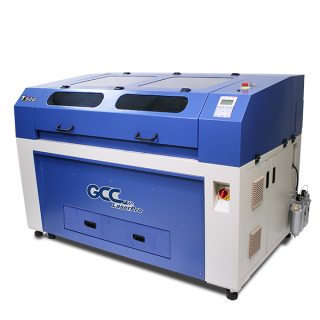
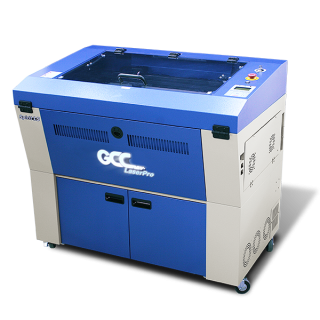
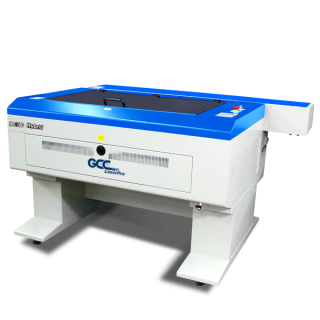
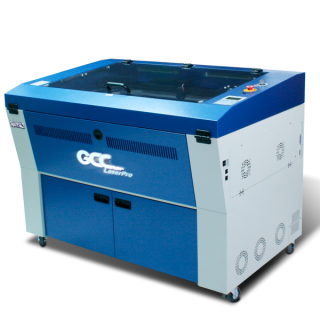
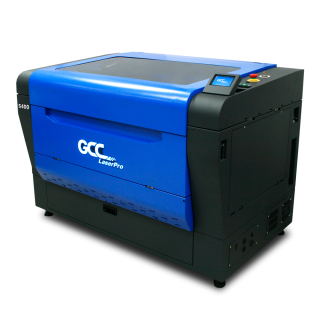
Applicable Models


Details
123D Make, a 3D modeling software launched by Autodesk, is a software which can easily transform images into pieces that can be assembled to real 3D objects. Equipped with various combinations, 123D Make can create all kinds of desired style ranging from personalizing your own accessories to samples for mass production, 123D Make is an ideal choice to get the job done efficiently.
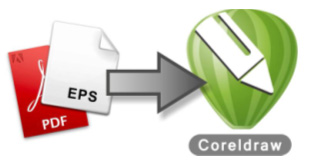
Along with CorelDRAW, Illustrator and our laser engraver, 123D Make is a perfect choice used to make output of EPS or PDF images. This month, LaserPro Application Lab is showing you how to make a 3D object by using our laser engraver and 123D Make. Let’s follow LaserPro Application Lab and give it a try!
Materials that need to be prepared:
- 2mm Acrylic
- Spray Adhesive
Instructions:
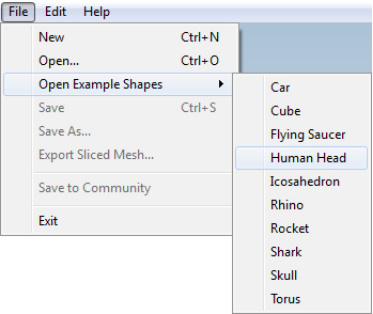
Step 1. Open 123D Make. (Get free download at http://www.123dapp.com/make)

Step 2. Open the desired picture. (Here we use the example shapes for instance)
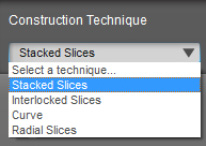
Step 3. Choose a combination under Construction Technique.

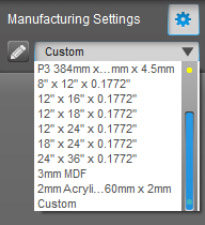
Step 4. Choose/Add material sizes under Manufacturing Settings.
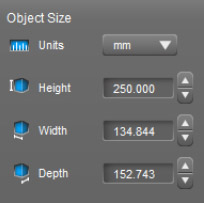
Step 5. Select the size of the object under Object Size.
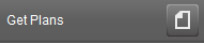
Step 6. Click “Get Plans” to get EPS or PDF images.
(Autodesk account log-in required; free software registration available)
Step 7. Open the images at CorelDRAW or Illustrator.
(Here we use CorelDRAW as an example)
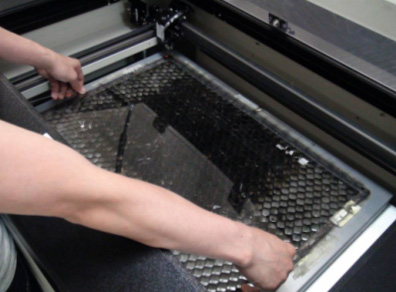
Step 8. Put the 2mm acrylic on the working table of the engraver.
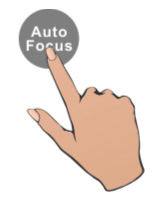
Step 9. Press auto focus button.
Step 10. Press start button for engraving.

Step 11. Assemble the sample in order.
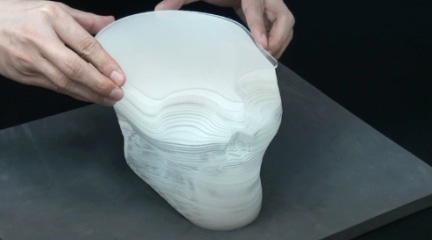
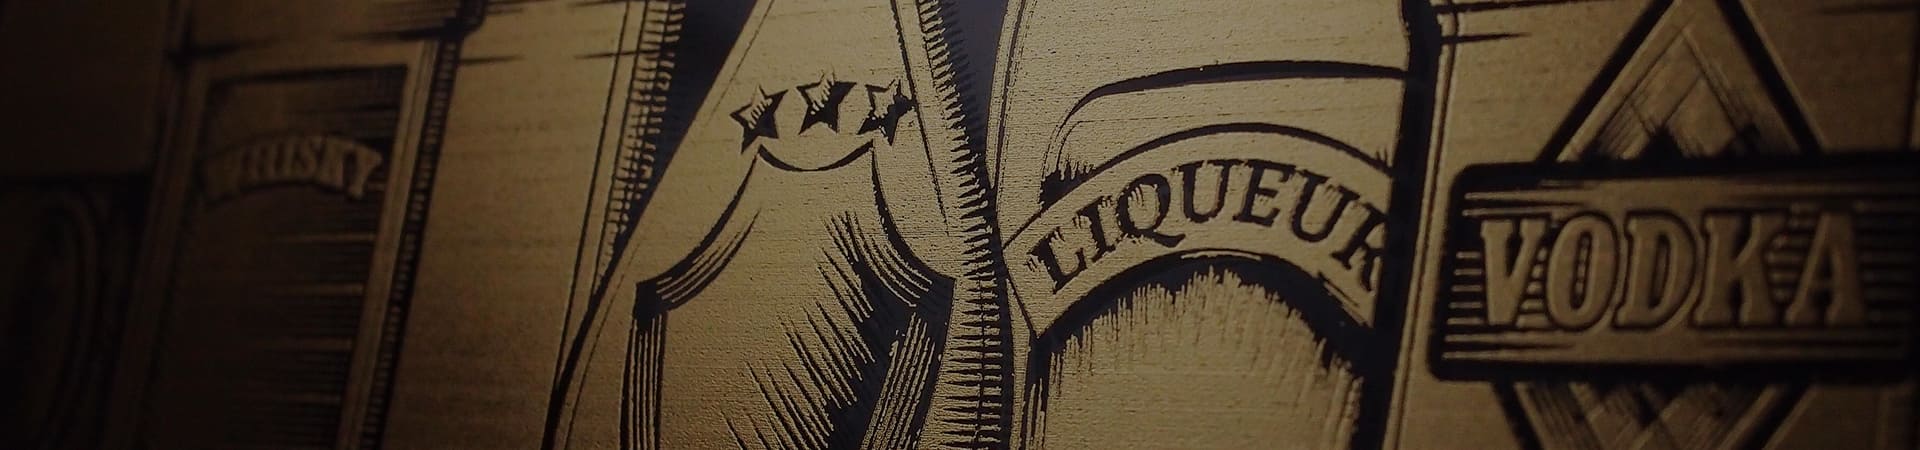
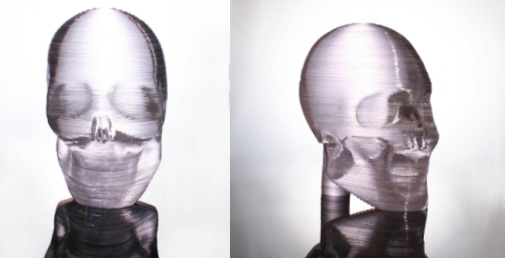
The sample is finished as below:
Suggested parameters:
| C180 30W | |||||
| Material | Speed | Power | DPI | PPI | Other |
| Red (Vector) | 90 % | 40 % | 1000 | 400 | Inside out cutting |
| Blue (Cutting) | 1.5 % | 100 % | 1000 | X | |
*The parameters are for suggestions only and should be moderately adjusted accordingly.
Tips:
- Make sure the materials are flat and even before engraving to avoid material waste due to misfocusing.
- Use a honeycomb panel when engraving to avoid material falling.
- Activate Inside out cutting function to avoid cutting error due to material falling.