i-Craft™ 2.0 Vinyl Cutter
Multiple Layer Flex Heat Transferring with GCC Cutting Plotters | Laser Engraving, Vinyl Cutter, UV Printer - GCC
Applications

Showcase Video
Multiple Layer Flex Heat Transferring with GCC Cutting Plotters
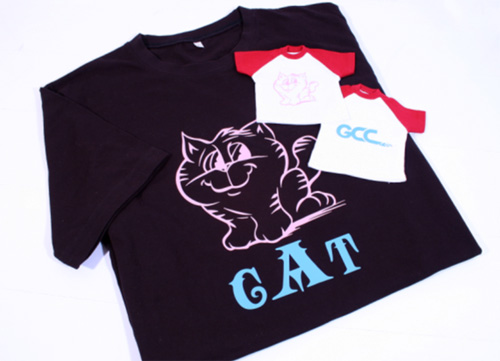
This application shows you how to heat-transfer a cut pattern with multiple layers of flex to a T-shirt. A GCC Cutting Plotter, a Heat Press Machine and some Flex is all you need to complete a customized T-shirt full of fun and creativity.
Details
This application shows you how to heat-transfer a cut pattern with multiple layers of flex to a T-shirt. A GCC Cutting Plotter, a Heat Press Machine and some Flex is all you need to complete a customized T-shirt full of fun and creativity.
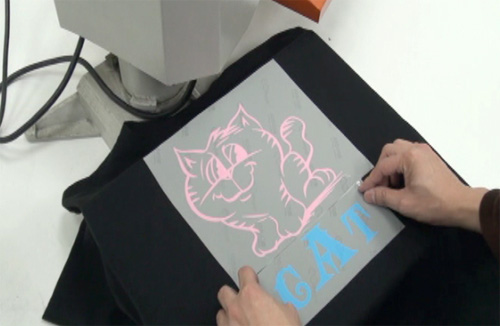
Note: Pink and blue flex are the materials used in this demonstration; users are free to select the flex needed for different applications.
Step 1.
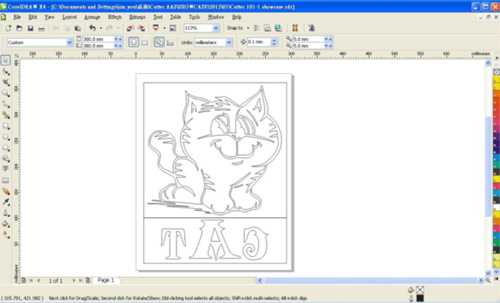
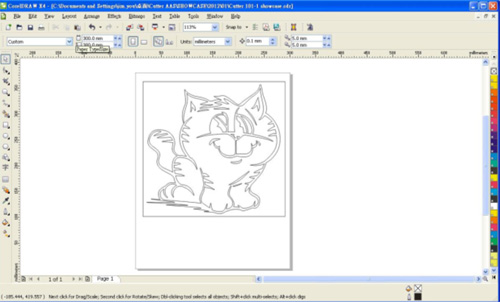
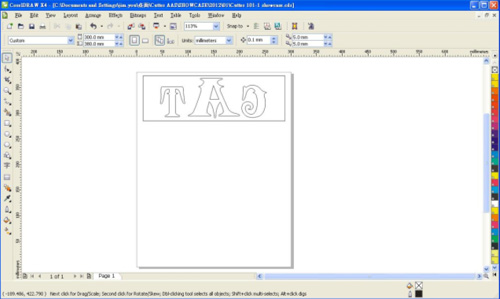
Create an image with a contour line on CorelDraw/ Illustrator.
Step 2.
Select the "Cat" main image and output it to the cutting plotter on pink flex.
Step 3.
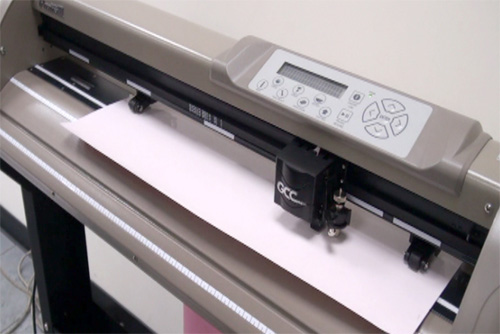
Cut your image using a GCC cutting plotter.
Step 4.
Select the GCC " CAT" image and output it to the cutting plotter on blue flex.
Step 5.
Place the T-shirt on a heat press machine, place both cut flex on it and ensure the positions are appropriate.
Step 6.
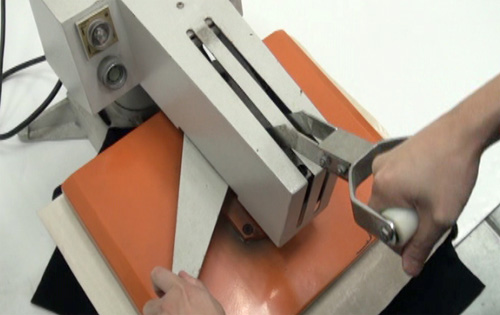
Press both cut flex on the T-shirt using a heat press machine at 150℃ for 15 seconds after a Teflon sheet is placed over the T-shirt.
Now you have a customized T-shirt with a multiple-colored pattern for yourself, or friends and families.
Parameters:
| Speed | 45 |
| Force | 75 |
| Offset | 0.275 |
| Blade | 0.08mm |
| Heat transfer temperature | 130℃ |
| Heat transfer time | 15 |